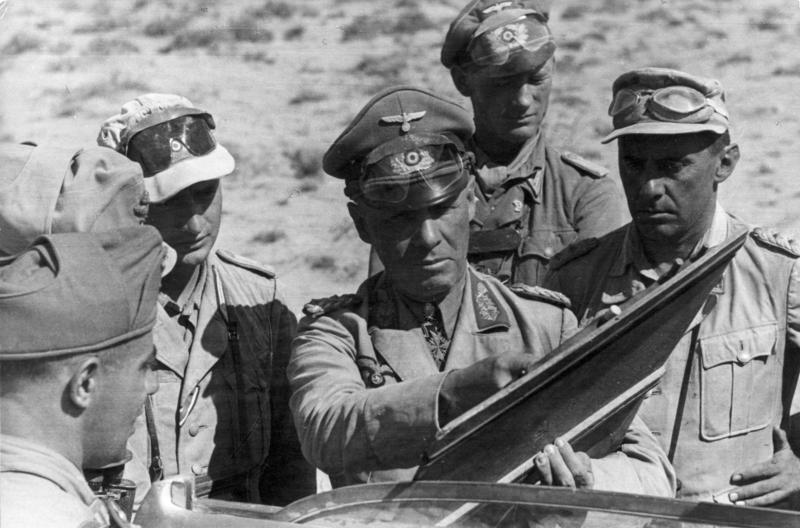
Here ye will fin' all manner of unspeakable beasties an' their activities...
An' remember ta' beware o' th' Rabbit!

Monday, February 6, 2017


BA 2nd - Duel in the Sun – Round #4 - Score
      Round ends March 4th, 2017!


Attackers - Allies

Phil – Americans           6

Mark – SAS                    7

Mike – British                7

Jim – French                 4

John H. – Americans      2


Defenders - Axis

Larry – Italians            2

Tim – DAK                   3


Art – Germans             3

Frank - Germans         7
Hunter – Germans       6


Score
Allies -   3
Axis   -   2


Saturday, February 4, 2017

Duel in the Sun Campaign - Round 4


Bolt Action II Duel in the Sun Escalation Campaign – Round #4


Round 4 – 675 points (choose from options below)


Reinforced Platoon

  • ·         Lieutenant – First or Second
  • ·         Infantry squads


Plus

  • ·         Captain or Major
  • ·         Medic
  • ·         Forward Observer (either Artillery or Air)
  • ·         Machine gun teams
  • ·         Mortar teams
  • ·         Additional Infantry squads  
  • ·         Transport/tow (soft-skins or armored) 1/infantry unit in the reinforced platoon.
  • ·         Anti-tank teams
  • ·         Field Artillery, Anti-aircraft or Anti-tank gun
  • ·         Armored Car 

** Only team weapons listed under the "Plus" above can be selected with the "Additional Infantry squads".**


Round #4 will start 2/5/17 and must be completed by 3/4/17.


The assault on Vila Chata was fought between British and German forces over the tactically important heights overlooking the road to Tunis.  The Allies stormed the village, taking it after a furious uphill struggle, and holding it against enemy counter-attacks. But the Germans managed to perform an outflanking maneuver and assault the village from the rear. The Allied forces were split by the Germans, and the order given to withdraw.


FORCES

This scenario is designed to be played with equal points values on both sides. The following reinforced platoons should be used to represent the forces involved:


Defenders - Axis

Larry – Italians

Tim – Germans

Jim - French

Art – Germans

Frank – Germans

Hunter - Germans


Attackers - Allies

Phil – Americans

Mark – SAS

Mike – British

Jim – French

John – Americans

Hunter – Americans


SET-UP


Terrain

The table is set up as shown on the scenario map.

It’s recommended you make a big hill for this scenario, covering an area about 36” x 24” – it should comprise of three semi-circular tiers, placed on top of each other to make two 3” steps leading up to the plateau at the top. This should give you enough space to place some buildings on top of the hill, representing the village. Along the curved edge of the topmost tier, the German player should place obstacles such as sandbags, barbed wire, etc.


Place a few bushes and trees on the tiers to represent the vine-covered slopes, which proved so difficult for the attackers to move through.


The rest of the table should be set up with a few field boundaries such as hedges and walls, and maybe a small farm building.


Deployment

The defender sets up half his force (rounding up, they can start the game hidden), on the topmost tier of the hill. Note that he cannot place any vehicles on the table at this stage. Any units not set up this way are held in reserve.


The attacker sets up at least half of his units in his set-up zone. Any units not set-up at this stage are held in reserve.


SPECIAL RULES


Preparatory Bombardment

The attacker rolls a die: on a 2+ a preparatory bombardment strikes the enemy positions. On a 1, the barrage fails to materialize, but you have your orders and the attack must go on as planned.


First Turn

The battle begins


Rough Going

The slopes of the hill make its ascent tough going – the lower two tiers count as rough ground and are impassable to all vehicles.


Defender’s Reserves

If the defender has any vehicles in reserve, these must be deployed as part of an outflanking maneuver.


Dug-In

The defenders can dig in.


Number of Players

Max two players per side!


Reduced Airpower

Both sides have Reduced Airpower.  Players are still able to call an airstrike. However, instead of rolling on the Air Strike chart, he rolls a D6: On a 1–5, he gets a ‘The skies are empty’ result. On a 6, he gets a ‘Here it comes!’ result. Refer to the Air Strike of Bolt Action for details on these results.


Limited Specialists

Only one FAO and/or FOO allowed per side. 


Objective

The attacker is trying to destroy the forces on the hill. The defender is trying to hold the hill at all costs!


Game Duration

Keep a count of how many turns have elapsed as the game is played. At the end of Turn 6, roll a die. On a result of 1, 2 or 3, the game ends, on a roll of 4, 5 or 6 play one further turn.


Victory!

·         The victory conditions are simple – if the defender has any units on the top tier of the hill (even partially) he has won – a vast wave of reinforcements arrives and pushes any attacking troops off the hill. 


·         If the defender has no units on the top tier of the hill, the attacker wins.

This might seem to be a difficult proposition for the attacker, but these types of fights were tough. The attacker has to earn his victory in this scenario.


Friday, February 3, 2017


BA 2nd - Duel in the Sun – Round #3 - Score
      Round ends February 4th, 2017!


Attackers - Allies

Phil – Americans           6

Mark – SAS                    6

Mike – British                6

Jim – French                 4

John H. – Americans      2


Defenders - Axis

Larry – Italians            2

Tim – DAK                   3


Art – Germans             3

Frank - Germans         5
Hunter – Germans       4


Score
Allies -   3
Axis   -   1


Tuesday, December 27, 2016


Bolt Action II Duel in the Sun Escalation Campaign – Round #3


Round 3 – 550 points (choose from options below)
Reinforced Platoon

  • Lieutenant – First or Second
  • Infantry squads

Plus

  • Medic
  • Machine gun teams
  • Mortar teams
  • Additional Infantry squads
  • Transport vehicle or tow (soft-skins or armored)
  • Anti-tank teams
  • Field Artillery, Anti-aircraft or Anti-tank gun
  •  Armored Car

 Round #3 will start 1/8/17 and must be completed by 2/5/17.

The second battle of Longstop Hill (21–23 April 1943) was fought between British and German forces over the tactically important heights of Djebel el Ahmera and Djebel Rhar, which guarded the road to Tunis, the chief headquarters of the Afrika Korps. After a grueling battle, the British finally won through, paving the way for an Allied advance on Tunis and total victory in North Africa
.
The battle is typical of the bitter hill-to-hill fighting that the Americans and the British had to endure as they clawed their way across the highlands of Tunisia.

FORCES
This scenario is designed to be played with equal points values on both sides. The following reinforced platoons should be used to represent the forces involved:

Only Two Players Per Side!

Defenders - Axis
Larry – Italians
Tim – Germans
Jim - French
Art – Germans
Frank – Germans
Hunter - Germans

Attackers - Allies
Phil – Americans
Mark – SAS
Mike – British
Jim – French
John – Americans
Hunter – Americans

SET-UP

Terrain
The hill should dominate the center of the table, but shouldn’t be closer than 12” to any table edge. It should be adorned with some hurriedly prepared defenses (like sandbag emplacements, dug-outs, etc.).

The defender sets up at least half his force on the hill, no closer than 18” from any table edge. Any units not set up this way are held in reserve.
The attacker does not set up any units at the start of the game. He must nominate at least half his force to form his first wave. Any units not included in the first wave are held back in reserve.

SPECIAL RULES

Preparatory Bombardment
The attacker rolls a die: on a 2+ a preparatory bombardment strikes the enemy positions. On a 1, the barrage fails to materialize, but you have your orders and the attack must go on as planned.

First Turn
On the first turn, the attacker must bring his entire first wave onto the table. These units can enter the table from any point along either long table edge, and must be given either a run or advance order. Note that no order test is required to move units onto the table as part of a first wave.

Very Rough Going
The dry, rocky slopes of Longstop Hill are impassable to all vehicles. For other units, the entire hill counts as rough ground.

Objective
The attacker is trying to destroy the forces on the hill. The defender is trying to hold the hill at all costs!

Game Duration
Keep a count of how many turns have elapsed as the game is played. At the end of Turn 6, roll a die. On a result of 1, 2 or 3, the game ends, on a roll of 4, 5 or 6 play one further turn.

Victory!
At the end of the game calculate which side has won by adding up victory points as follows. If one side scores at least 2 more points than the other, then that side has won a clear victory. Otherwise, the result is a draw!
·          

  • Both players score 1 victory point for every enemy unit destroyed.
  • They also score 1 victory point for each of their units on the hill and within 12” of the table’s middle line at the end of the game.